


This article was originally written and posted on Lucid Blog by me you can check it out here . This is a repost with some editing.
In this tutorial, we will be learning two Git techniques called branching and merging. I will be showing you the basics of how to work with Git which includes creating and merging branches this also includes how to switch back and forth between the new branch and the default one, so let's get started.
Prerequisites
You will need the following tools to follow this tutorial:
- Git - download here .
- A GitHub account - create one here.
- A text editor - preferably VSCODE.
- Basic knowledge of how to use the command line.
Let's get started.
Step one A:
Create a project folder in your root directory with the CMD prompt using the command below
mkdir git_branching_and_merging_tutorial
the command above will create a named folder in your root directory, navigate to the folder using
cd git_branching_and_merging_tutorial
Step one B:
Create a markdown file in the folder to experiment with type the following command in your CMD (e.g README.md)
touch README.md
type in some random text in the .md file just to experiment with. Initialize git in the current folder using
git init
run git add . to add all changes in the file.
commit your first changes by running the command below
git commit -m "initial commit"
Step one C:
Log in to GitHub and create a new repository with the name of your choice. In the process, you should see a page like the one below.
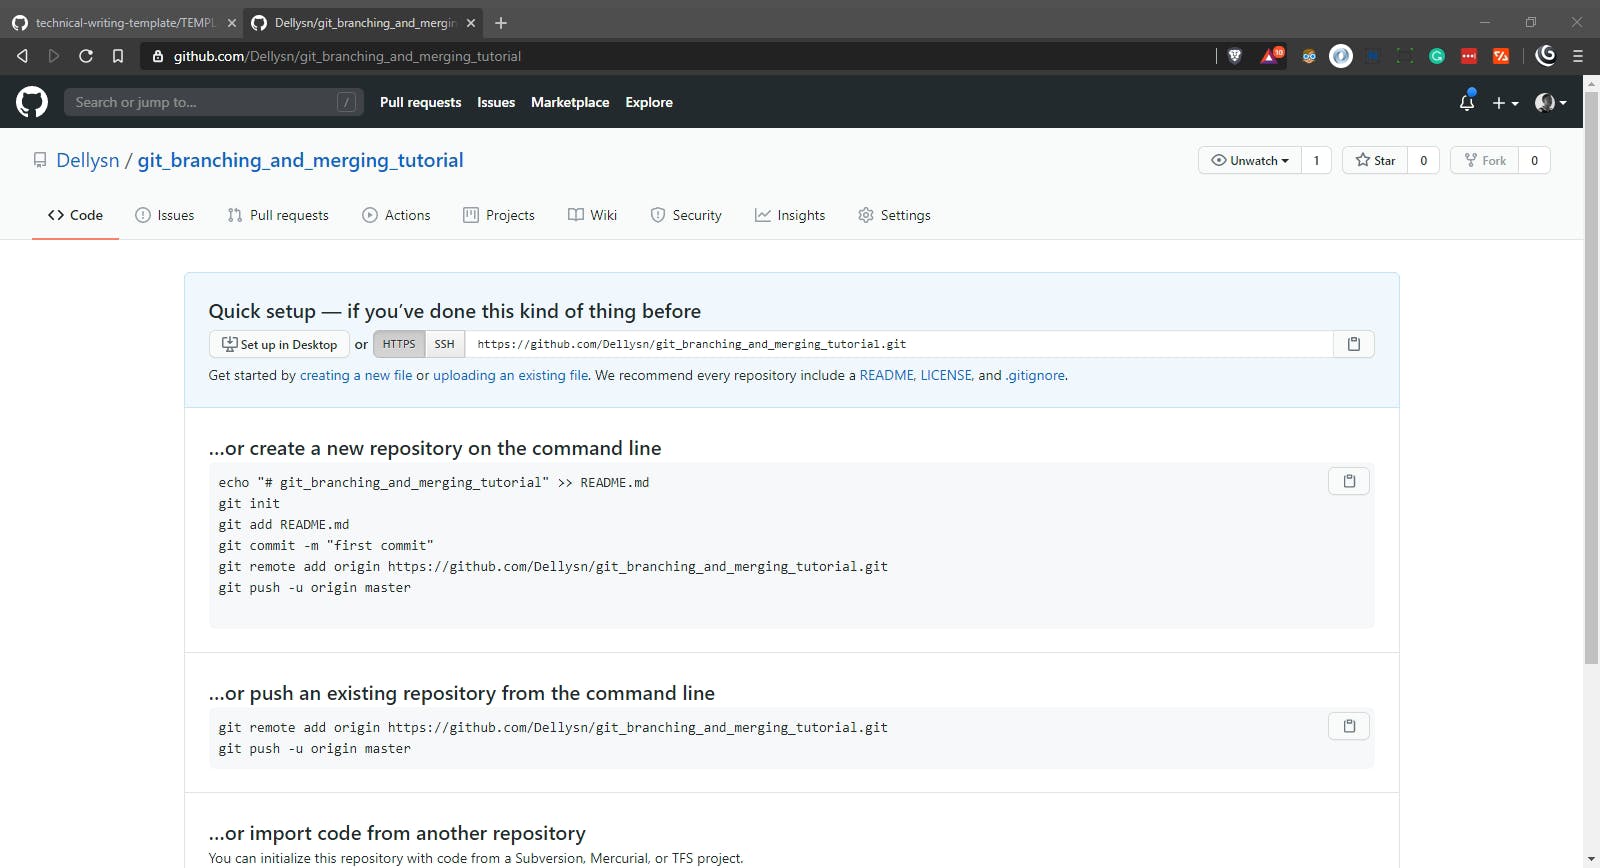
The picture above contains instructions on how to create a new repository on your command line and how to do that manually by importing an existing repository to the website but I prefer doing the whole process on the command line because why not.
Now let's go back to the terminal and do the following:
git remote add origin {repository link without the parenthesis}
push to your Github repository by using the command below
git push -u origin master
just in case you are wondering how we come about the master in the above command, the master branch is the default branch name on GitHub.
Step two: CREATING BRANCHES
git branch -a
To check for already existing branches (the -a flag means all) or run git branch --all instead.
Step Three:
To create a new branch
git branch development
I named the new branch "development" for simplicity.
Step Four:
To switch to the new branch,
git checkout development
add some more random contents, add your changes with
git add . and commit your changes with git commit -m "updated README".
Push to the development branch using
git push -u origin development
switch back to the default branch using the same command above but this time with the default branch name (master).
Step Five: MERGING BRANCHES
Note: The example shown here assumes that you are working on a project own by you if you are working on a project with a team pushing directly to the master branch or the default branch can cause code conflicts in the project, the best thing to do, is to push to the development or whatever name the team chooses, create a pull request (PR) and wait for the PR to be merged by the authorized team member.
Let go ahead with our "mini-project".
To merge branches, I assumed you have two branches created from following the steps above, you have the master branch and the development branch, to merge the two branches.
Let's say you are sure that there are no conflicts in your file(s) and you want to merge the development branch with the master branch, do the followings;
i. switch to the master branch with the command we use above git checkout master
ii.
git pull
to make sure the branch is updated with your project repository on GitHub.
iii.
git merge development
Voila! This command will merge the development branch with the master branch, your master branch is now updated with the contents of your development branch, run git push -u origin master to update your project repository on GitHub or better still, you can compare and create a pull request which can also be merged by you in the browser.
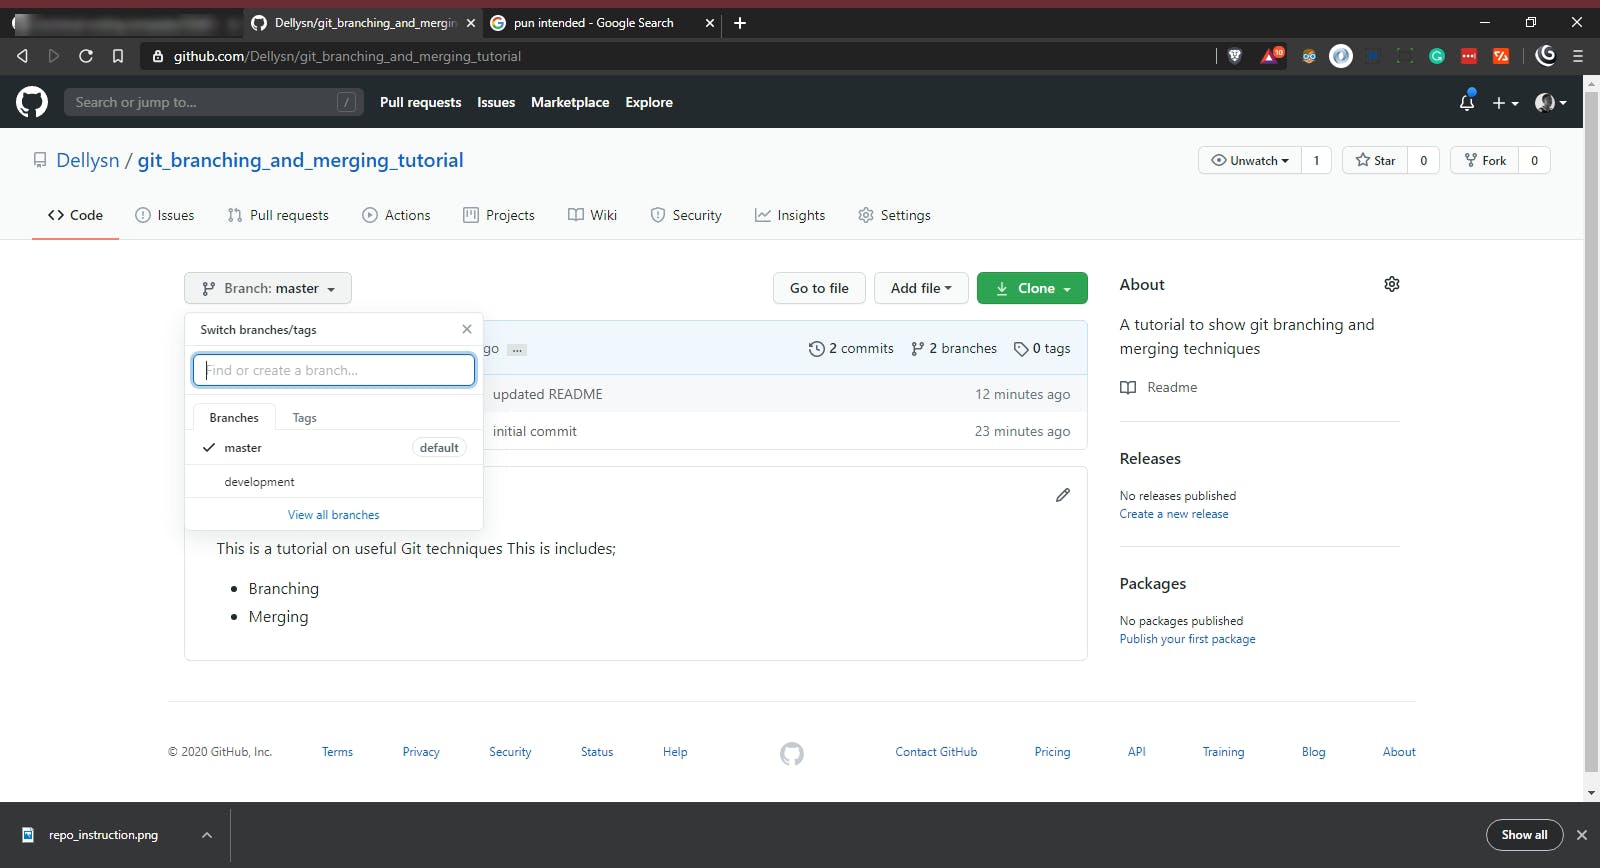
Go back to the GitHub repository to confirm, you should see an end result as the image below, your repository now has two branches with updated contents.
Conclusion
That's it for now, in this tutorial you learned how to create and merge branches which is a helpful skill when collaborating with other developers to work on a project.