


When creating web applications using backend frameworks like Express.js it's normal for developers to want to add views to their various projects and Hapi.js is not exempted, you can add views to your Hapi projects too in fact Hapi supports multiple and various templating engines such as Handlebars(my favorite), Nunjucks, Pug, EJS etc.
As I mentioned in my previous post, creating Views is not actually built into Hapi core functionality, we need to add a plugin for it called Vision.
Vision is a templates rendering plugin for hapi.js. Vision decorates the server, request, and h response toolkit interfaces with additional methods for managing view engines that can be used to render templated responses. hapi
If you are just joining us, I'd advise you to go through the previous post.
Before we can start using vision in our project we need to first install a couple of dependencies, we are going to be using handlebars.js as our template engine.
yarn add @hapi/vision handlebars --save
The command above installed the necessary dependencies we need. Now let's get our hands dirty.
Firstly, we require the Vision dependency
const Vision = require("@hapi/vision")
Then we modify our server.js file.
Before anything else, we need to register our vision plugin
await server.register(Vision);
or else our views won't work, we will just keep on getting errors, moreso, the Vision plugin gives us access to some API that we can use to render our template on the fly.
Our project structure will change up a bit
Hapi_Project
|__node_modules
|__server.js
|__public
|  |__ style.css
|  |__ main.js
|__views
|  |__layouts
|  |  |__layout.html
|  |__partials
|  |  |__navbar.html
|  |__index.html
|__ package.json
Configuring our views.
  //setting up views
  server.views({
    engines: {
      html: require("handlebars"),
    },
    relativeTo: __dirname,
    path: "./views",
    partialsPath: "./views/partials",
    layout: true,
    layoutPath: "./views/layouts",
  });
The Hapi views method takes in an object where we pass in our various configurations, now let's go through them one after the other. The engines property is for setting the template engine of your choice which we used handlebars for. The relativeTo indicates the directory in which we are going to be serving our templates from and that is the views folder. partialsPath indicates the directory containing the our partial files, setting layout to true tells vision that we indeed want to use the layout templating style which you will see in the snippet below and also we need to provide the layoutPath which points to the directory we are serving the layout.html file from and it must be named layout.html else we get an error.
Inside the layout.html file, paste the following
<!DOCTYPE html>
<html lang="en">
  <head>
    <meta charset="UTF-8" />
    <meta name="viewport" content="width=device-width, initial-scale=1.0" />
    <link rel="stylesheet" href="../style.css" />

    <title>{{title}}</title>
  </head>
  <body>
    {{> navbar.html}}
    {{{content}}}
  </body>
</html>
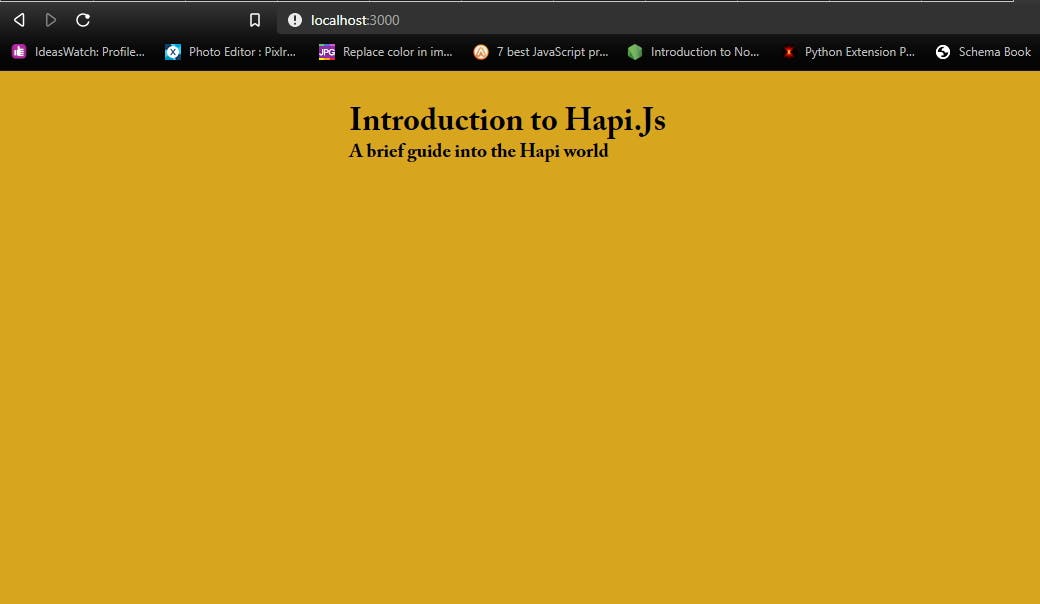
we are going to modify the /views/index.html as well
<div class="container">
  <h1>Introduction to Hapi.JS</h1>
  <h3> A brief guide in the hapi world</h3>
</div>
and also, we modify the /views/partials/navbar.html as well.
<nav>
  <div>
    <div class="brand">Hapi Project</div>
  </div>
  <ul>
    <li><a href="#">home</a></li>
    <li><a href="#">about</a></li>
    <li><a href="#">service</a></li>
    <li><a href="#">contact</a></li>
  </ul>
</nav>
The HTML code are limited because this is just an introductory post. Our CSS remains as the previous file we had from the first part of this post.
We can now render our view like so.
 server.route([
    {
      method: "GET",
      path: "/",
      handler: (request, h) => {
        return h.view("index");
      },
    },
    // other routes
 ])
In your browser, you can now navigate to the http://localhost:3000/ and see a similar output as this.
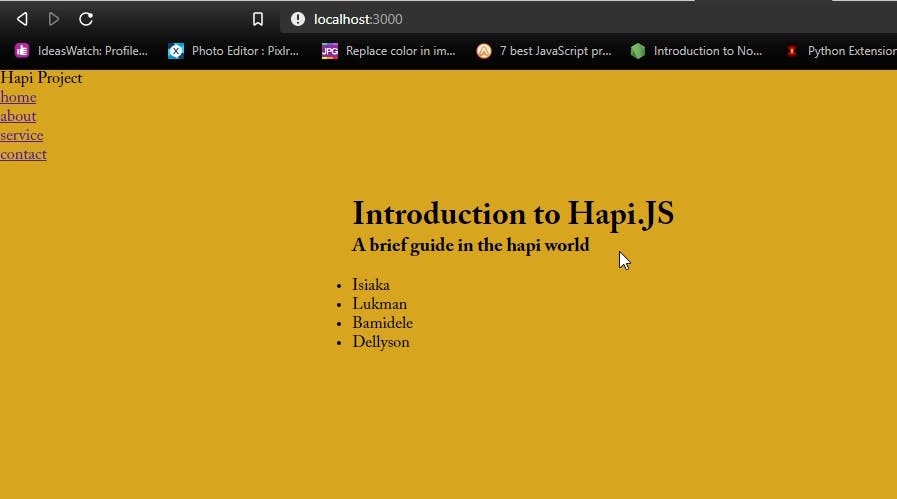
Serving Dynamic Data
You can also pass a variable or an array of object to your views and Handlebars will parse it dynamically to the views.
Let's change up our server.js file a bit.
server.route([
    {
      method: "GET",
      path: "/",
      handler: (request, h) => {
        // Create an array of objects
        const lists = [
          {
            name: "Isiaka",
            age: 20,
          },
          {
            name: "Lukman",
            age: 22,
          },
          {
            name: "Bamidele",
            age: 25,
          },
          {
            name: "Dellyson",
            age: 28,
          },
        ];
        return h.view("index", {
          title: "Home Page",
          lists,
        });
      },
    },
    // other routes objects
])
And our index.html file
<div class="container">
  <h1>Introduction to Hapi.JS</h1>
  <h3>A brief guide in the hapi world</h3>
  <br />
  {{#if lists}}
  <ul>
    {{#each lists}}
    <li>{{name}}</li>
    {{/each}}
  </ul>
  {{/if}}
</div>
Putting all together
const Hapi = require("@hapi/hapi");
const Port = process.env.PORT || 3000;
const Inert = require("@hapi/inert");
const Vision = require("@hapi/vision");
const Path = require("path");
// create a server config
const server = Hapi.server({
  host: "localhost",
  port: Port,
  routes: {
    files: {
      relativeTo: Path.join(__dirname, "public"),
    },
  },
});

const config = async () => {
  await server.register(Inert);
  await server.register(Vision);

  //setting up views
  server.views({
    engines: {
      html: require("handlebars"),
    },
    relativeTo: __dirname,
    path: "./views",
    partialsPath: "./views/partials",
    layout: true,
    layoutPath: "./views/layouts",
  });
  // static file route
  server.route({
    method: "GET",
    path: "/{params*}",
    handler: {
      directory: {
        path: ".",
      },
    },
  });
  server.route([
    {
      method: "GET",
      path: "/",
      handler: (request, h) => {
        return h.view("index");
      },
    },

    {
      method: "GET",
      path: "/re",
      handler: (request, h) => {
        const name = request.query.name;
        const age = request.query.age;
        return {
          name,
          age,
        };
      },
    },
  ]);

  await server.start();
  console.log("Server listening on port ", server.info.uri);
};
config();
// handling unhandledRejection Error
process.on("unhandledRejection", (err) => {
  console.log(err);
  process.exit(1);
});
Wrapping up
With this brief write-up, I am sure you've got a glimpse of how to add a view to an Hapi.js project, find the link to the project repo below. See you in my next post. Peace ✌.